 Ask The Home Geek
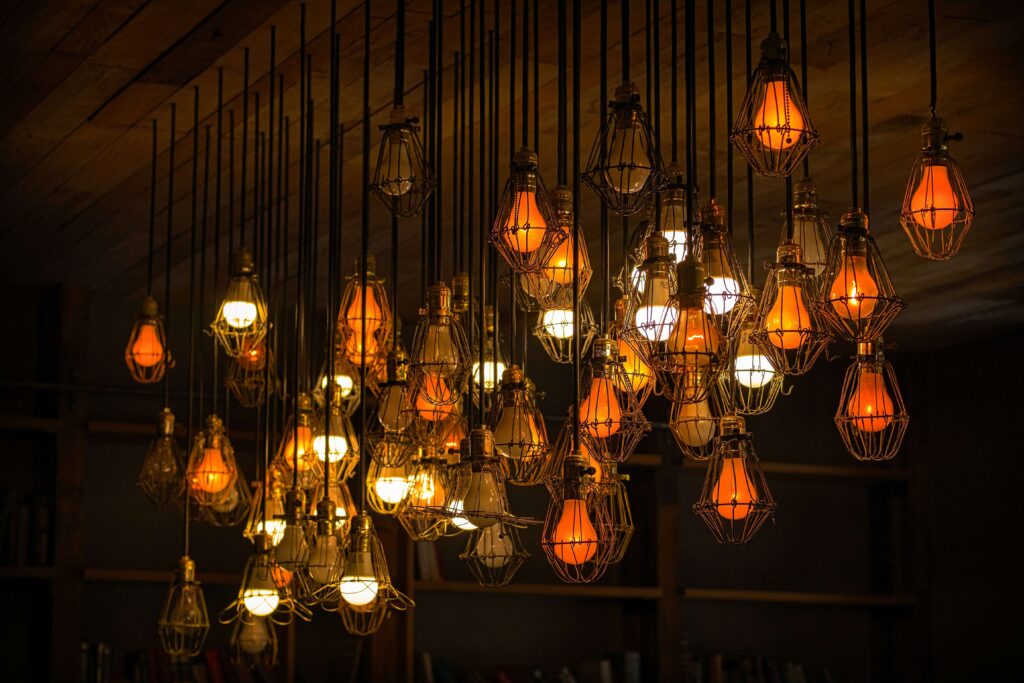
You switch on the lights and something looks off. One ceiling bulb is yellowish and the next is bluish, a strip is white at one end and orange at the other, or it shows green when you picked blue. Mismatched LED colors are common, and most of the causes are easy to sort out.
Here's why LED lights end up different colors, for both white bulbs and color-changing strips, and how to fix each one.
Why Are My LED Lights Different Colors?
White bulbs usually differ because they have different color temperatures, such as warm white at 2700K and cool white at 5000K, or because they come from different brands or batches. On a color-changing strip, the usual causes are voltage drop on a long run, a loose connector, wires in the wrong order, a damaged section, or a weak controller or power supply. Heat and age can also shift a white LED slowly over the years.
Part 1: White LED Bulbs That Look Different
1. Different color temperatures
White LEDs come in different shades of white, measured in Kelvin (K):
| Color temperature | Looks like |
|---|---|
| 2700K | Warm, yellowish white, like an old incandescent bulb |
| 3000K | Soft white |
| 4000K | Neutral white |
| 5000K–6500K | Cool, bluish daylight white |
If you replaced one bulb and didn't match the Kelvin number, it will look different from the others. Check the box or the printing on the bulb, and use the same number for every bulb in that room or fixture.
2. Different brands, models, or batches
Two bulbs both marked 3000K can still look a little different if they are from different brands, or even different batches. Factories sort LEDs by color, and cheaper bulbs often have a wider allowance. Some lean slightly pink or green. Buy the bulbs for one room together, from the same brand.
3. Color rendering (CRI)
The color rendering index (CRI) is a score for how accurately a light shows colors. Two bulbs with the same Kelvin rating but different CRI can make walls, skin, and fabric look different. CRI 90 or higher usually looks more natural.
4. Dimming
Some bulbs get warmer as you dim them. Those are sold as warm-dim or dim-to-warm. A standard LED stays about the same color. Mixing the two on one dimmer makes them drift apart at lower brightness.
5. Age and heat
Over many years, and sooner in a hot enclosed fixture, the phosphor on a white LED can age and the color can drift. A new bulb next to an old one may not match.
6. Smart bulbs out of sync
Smart bulbs on different scenes, or on an adaptive setting that changes through the day, can end up on different colors. Put them in one group in the app and set that group to the same scene or the same Kelvin number.
Part 2: RGB LED Strips Showing Different or Wrong Colors
How color-changing LEDs make colors
An RGB LED has red, green, and blue chips. Mixing those three at different brightnesses, called additive color mixing, produces the other colors. Red plus green makes yellow. All three at full brightness make a rough white, often a bit cool rather than a warm bulb-white.
Color also changes how a room feels. See which LED light color helps with headaches for the research on green light. That is a narrow-band green, not the green setting on a cheap RGB strip.
A problem on one of the three channels changes the color you see.
Common causes and fixes
1. The far end looks yellow, orange, or red (voltage drop)
On a long strip, voltage falls along the thin copper. Blue and green chips need a little more voltage than red, so they fade first. White turns yellowish or orange toward the end, and that end is dimmer.
Fix: Keep a run to about 5 m (16 ft) on a 12V strip or 10 m (33 ft) on a 24V strip when it is fed from one end. For a longer run, feed power in at both ends or in the middle. Use wire that is thick enough for the distance, and size the supply for the load. Add up the strip's watts. LED lights don't use a lot of electricity compared with old bulbs, but a long strip still adds up.
2. The color is wrong, for example blue shows as green
The wires between the controller and the strip may be in a different order from the one the controller expects. Strips are not all labeled red, green, blue in that order. Addressable strips are often green, red, blue.
Fix: Many apps have a color-order setting, such as RGB, GRB, or BRG. Change it until red looks red. If there is no setting, line the connector up so each pad meets the pad with the same letter.
3. One color is missing, or one section is a different color
This is usually a loose or crooked connector, a weak solder joint, or a damaged section from a sharp bend, a crack, or water.
Fix: Unplug, then reseat or resolder the joint so the + pad and each color pad line up. If the fault starts at one spot, cut only at a marked cut line and reconnect, or replace that section.
4. Separate strips don't match
Strips from different brands or batches, or an RGB strip joined to an RGBW or RGBIC strip, often show different shades for the same setting. Joining strips of different voltages can damage them.
Fix: Use the same model on one run, and keep different types on their own controllers. A 12V strip must not share a supply with a 24V strip.
5. The strip flickers or changes color on its own
A weak power supply or controller, a stuck remote button, interference, or two remotes aimed at the same strip can all do this.
Fix: Replace the remote battery, unplug the controller for a minute, and try another supply if you have a matching one. On an addressable strip, also check that the data wire is connected and that the controller and the strip share a ground.
6. Heat
A strip stuck to a surface that traps heat, or covered so it cannot cool, can dim and shift color over time.
Fix: Mount it in an aluminum channel, leave it uncovered, and don't leave it at full brightness all the time.
7. Water or dirt
Moisture in a strip that is not waterproof can corrode the circuit and leave patchy colors.
Fix: Use an IP-rated strip in a damp place, and keep the connectors dry.
How to Wire LED Strips Properly
Most color problems start with the wiring:
- Match the voltage. The supply must be the same voltage as the strip, 12V or 24V, and rated for at least 20% more watts than the strip draws.
- Match the printed marks. Connect + to + and − to −, and match each color pad to the pad with the same letter. On a battery, BioLogic explains that anode and cathode are not the same as positive and negative, so follow the + and − marks on the strip instead of those names.
- Use a clip that closes fully, or solder the joint, and test it before you stick the strip down.
- Use thick enough wire on a long lead from the supply to the strip.
- Feed long runs in more than one place. Run separate wires from the supply to each section, rather than chaining a very long strip end to end.
- Don't mix strip types or voltages on the same run.
- Don't add resistors to a ready-made strip. The strip already has the parts it needs. A resistor is for a bare LED wired on its own, not for a household strip.
If the strip runs on mains voltage, or the work is in the wall, use a qualified electrician.
Quick Troubleshooting Checklist
- White bulbs don't match. Check the Kelvin number, the brand, and the CRI, and replace them as a set.
- The strip turns yellow or orange at the far end. That is voltage drop. Shorten the run or feed power in more than one place.
- The colors are swapped. Change the color order in the app, or correct the wire order.
- A color is missing, or one section is wrong. Reseat the connector, or replace the damaged section at a marked cut line.
- The color changes by itself or flickers. Check the remote, the controller, and the power supply.